Make a small installation pack
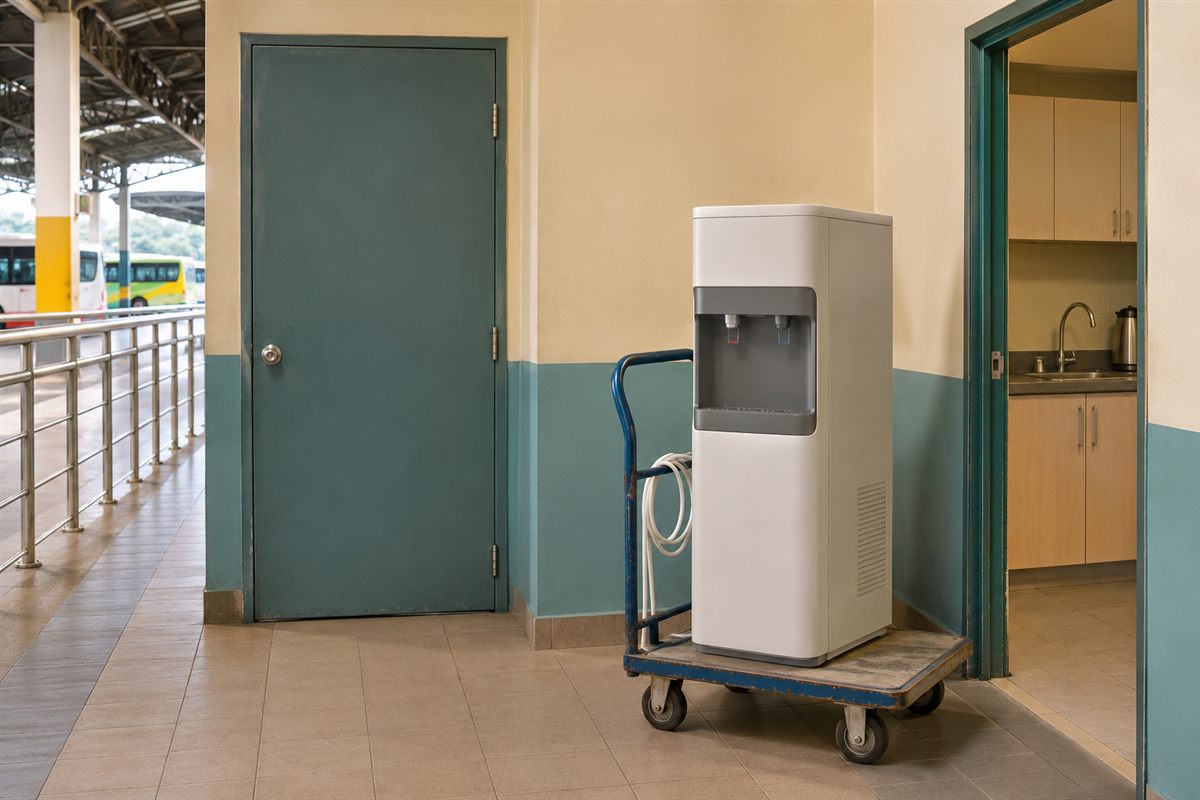
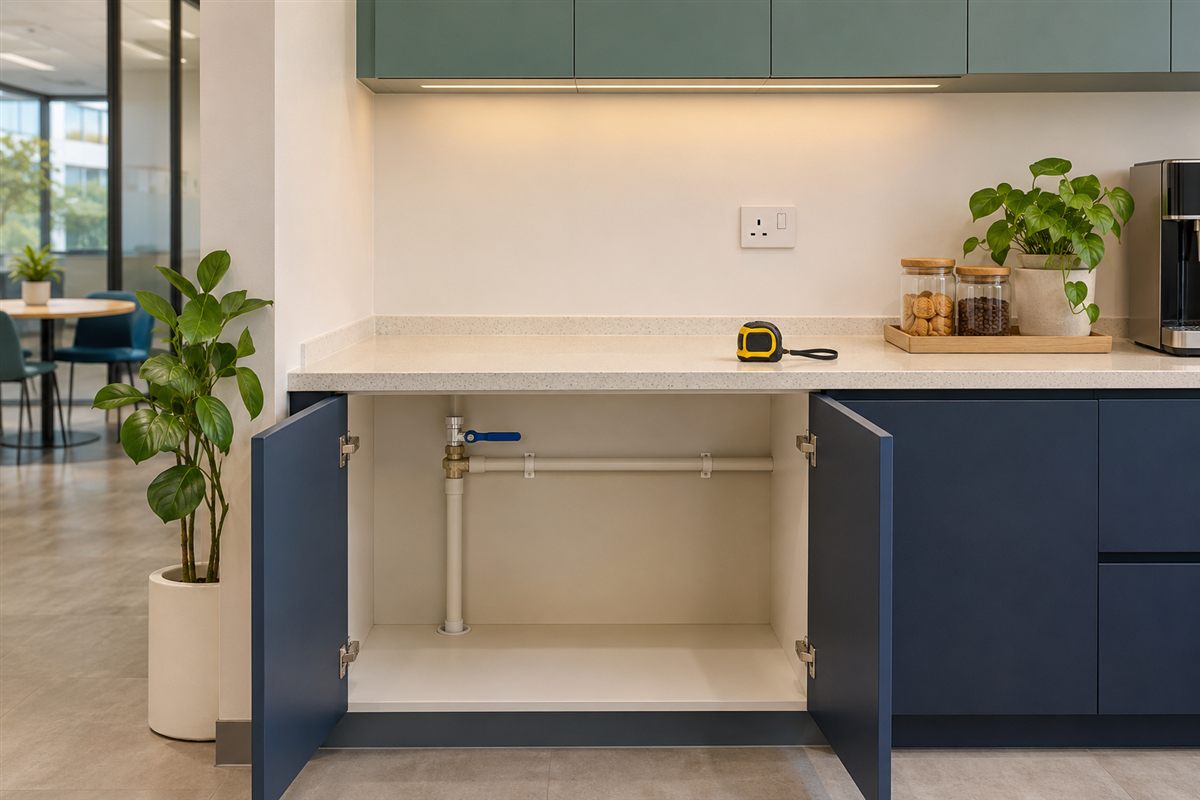
Take an overview photograph of the pantry, a close-up of the proposed supply connection and isolation valve, and a photo showing the socket and cable route. Obtain permission before photographing occupied areas and avoid capturing staff information.
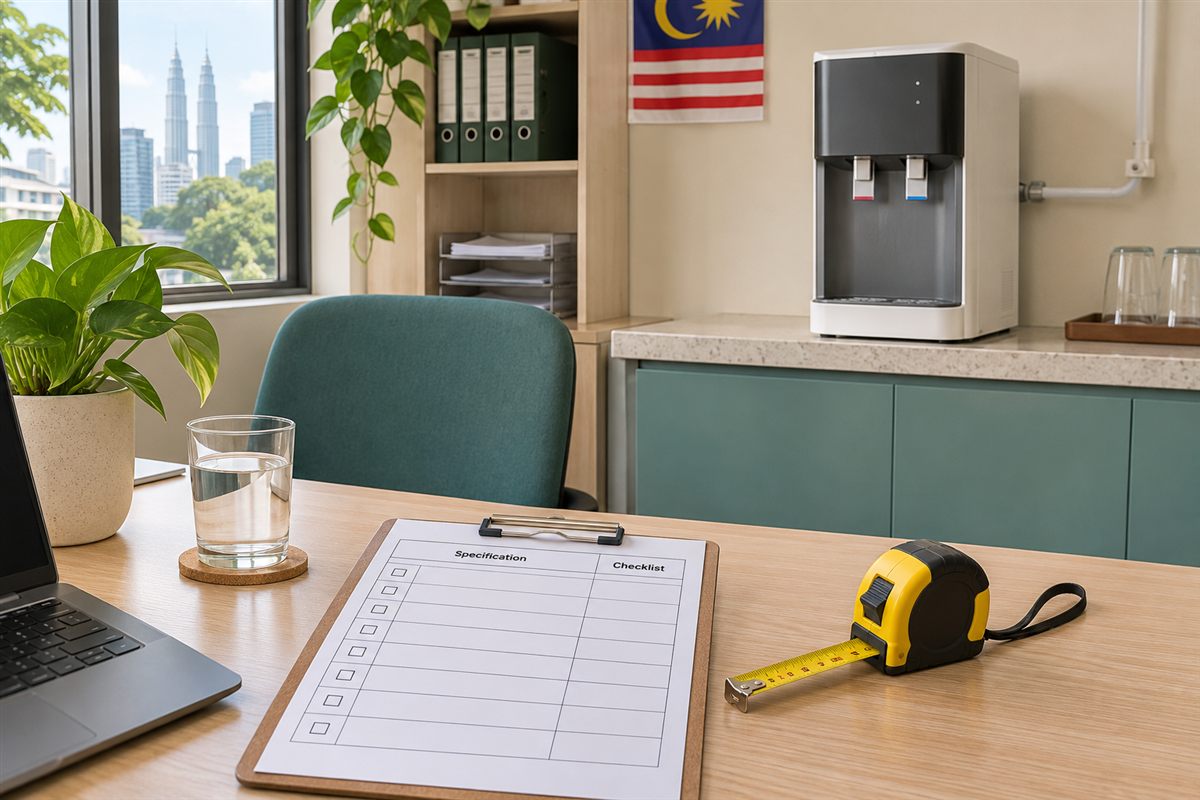
Add a sketch with dimensions in millimetres so a technician can assess a site without guessing from perspective.
Measure the equipment in use
Record counter width, depth, loading suitability and clearance above the unit. Check how a bottle fits below the outlet.
Open the cupboard doors and identify the space needed to remove cartridges. For a floor-standing dispenser, mark its footprint and the space a person occupies while refilling.
Verify the equipment-specific ventilation and maintenance clearances.
Confirm utilities before approving the quotation
Ask which supply pressures and inlet temperatures are permitted, who supplies the isolation valve and whether a drain is needed for reject water or overflow. Some systems need drainage and others do not.
Have a competent installer assess pipework and a suitable electrical connection; a convenient extension lead is not an installation plan. Agree leak checks, cleaning and commissioning using the equipment instructions.
Put it into practice
Your planning worksheet
A site-photo and measurement checklist.
| Photo or measurement | Acceptance question |
|---|---|
| Supply and valve | Is the connection identified and accessible? |
| Drain route, if needed | Has the installer checked routing and termination? |
| Power point | Can the unit connect safely without crossing a wet or walking area? |
| Service envelope | Can filters and panels be removed after installation? |
| Handover pack | Are instructions, asset ID and service responsibilities recorded? |
Sources & context
- US CDC — About Choosing Home Water Filters
Supports matching treatment to the water supply and specific contaminants. Dispensing calculations and worksheets are GAGE planning examples, not CDC recommendations.
Sources checked 9 November 2026. Worksheets are editorial planning tools. Confirm site-specific requirements, current local guidance and the instructions for the equipment you use.